
![]()
Are you running Facebook and Instagram ads and feeling like you’re throwing money into the void? Do you want to understand exactly what’s driving your results and make data-backed decisions to improve your campaigns? The Meta Pixel is your key to unlocking this level of insight. This comprehensive guide will take you from a complete beginner to a confident Meta Ads manager, focusing specifically on the power of Meta Pixel events. We’ll delve into how these events work, how to set them up, how to analyze them, and how to use them to optimize your ad spend for maximum impact.
Traditionally, Facebook advertising focused primarily on broad targeting and impression-based metrics. While impressions and reach are still valuable, they don’t tell you the whole story. Do people who saw your ad actually click on it? Do they visit your website? Do they make a purchase? The Meta Pixel allows you to track these crucial actions, providing a granular view of your ad performance. By setting up and analyzing Meta Pixel events, you transform your ads from simply showing to actively driving results. It’s the foundation of effective Meta Ads management.
The Meta Pixel is a small piece of code that you install on your website. It’s a data collection tool that tracks user activity on your website after they’ve clicked on your Facebook or Instagram ad. Think of it as a digital detective, silently observing what visitors do on your site. It doesn’t collect personal information like names or email addresses – it focuses solely on website events. This makes it compliant with privacy regulations and allows you to build precise audiences based on behavior, not demographics.
The Meta Pixel offers a wide range of pre-defined events, but you can also create custom events to track specific actions relevant to your business. Here’s a breakdown of the most common event types:
Beyond these pre-defined events, you can create custom events. For example, you could track when a user downloads a whitepaper, watches a video, or spends a certain amount of time on a particular page. This level of granularity allows for incredibly targeted optimization.
Setting up the Meta Pixel is surprisingly straightforward. Here’s a step-by-step guide:
Don’t skip the verification step! It’s crucial to ensure that the Pixel is correctly tracking events.
Once your Pixel is installed, you need to configure the events to track. This involves defining the specific URLs and parameters that trigger each event. Let’s take the ‘Purchase’ event as an example:
Carefully configuring your events is key to accurate data collection.
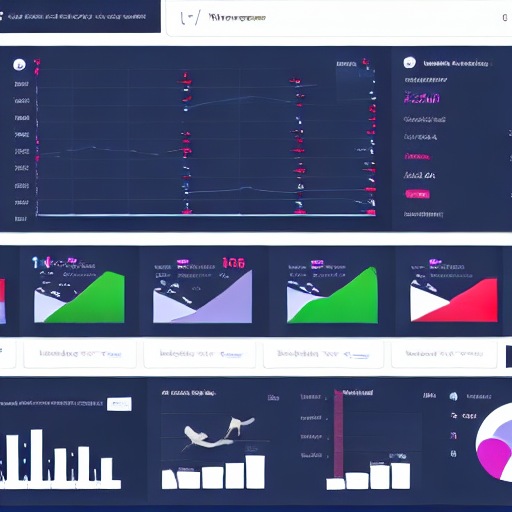
The real power of the Meta Pixel comes from analyzing the data it collects. The Pixel Manager provides a wealth of insights into your ad performance.
By analyzing this data, you can identify what’s working and what’s not, and make informed decisions about your advertising strategy.
Facebook is constantly evolving its tracking capabilities. ‘Enhanced Conversions’ is a significant improvement that allows for more accurate tracking, especially on mobile devices. The Conversion API allows your website to directly send purchase data to Facebook, bypassing the reliance on browser-based tracking. This is crucial for ensuring accurate data, particularly on iOS 14.5 and later.
Implementing the Conversion API is highly recommended for optimal tracking accuracy.
If you’re experiencing issues with your Pixel, here are some common troubleshooting steps:
If you’re still having trouble, consult the Facebook Pixel Help Center for more detailed troubleshooting information.
The Meta Pixel is a powerful tool for tracking your advertising campaigns and optimizing your ROI. By understanding how to set up, configure, and analyze your Pixel data, you can significantly improve your advertising performance. Remember to stay up-to-date with the latest Facebook updates and best practices to ensure that you’re getting the most out of this valuable tool.
This comprehensive guide provides a solid foundation for understanding and utilizing the Meta Pixel. Good luck!
Tags: Meta Pixel, Facebook Ads, Instagram Ads, Event Tracking, Ad Optimization, Conversion Tracking, Meta Ads, Pixel Events, Conversion API, Enhanced Conversions


[…] a Facebook Pixel: Go to your Facebook Business Manager and navigate to the Events Manager. Click “Create […]
[…] Event Tracking: The Pixel allows you to track specific events on your website, such as button clicks, form submissions, and product views. […]
[…] Meta Ads, Campaign Manager, A/B Testing, Targeting Strategies, Audience Segmentation, Lookalike Audiences, […]
[…] Meta Ads, AI Ad Creative, Machine Learning, Ad Optimization, Creative Automation, Digital Advertising, […]