
Snapchat has rapidly become a dominant force in social media, and its augmented reality (AR) capabilities are driving incredible engagement. The platform’s massive user base and the inherent fun of AR filters make it a perfect environment for creative expression. Spark AR Studio, Snapchat’s free development platform, empowers anyone – regardless of their coding experience – to build stunning and interactive AR experiences. This guide will take you on a journey from understanding the fundamentals to crafting sophisticated AR effects that will captivate your audience.
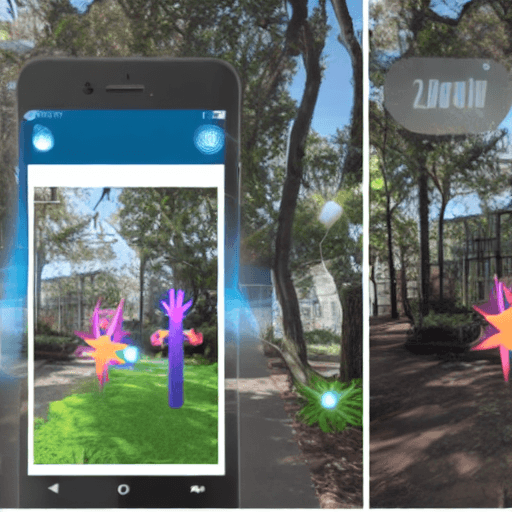
Augmented reality overlays digital content onto the real world, enhancing our perception and interaction with our surroundings. Snapchat’s AR lens feature allows users to instantly add fun and creative elements to their photos and videos. Spark AR Studio provides the tools to create these lenses and much more. It’s a powerful, intuitive platform designed for visual creators. Unlike traditional AR development which often requires extensive coding knowledge, Spark AR Studio utilizes a node-based system, making it accessible to designers, marketers, and anyone with a passion for creating engaging content. The platform is constantly evolving, with Snapchat regularly releasing new features and updates, ensuring that creators always have access to the latest tools and capabilities.
Before diving into creating complex effects, it’s crucial to grasp the core concepts. Spark AR Studio operates on a visual scripting system. You build your AR experience by connecting various nodes together, each performing a specific task. These nodes represent actions like adding a 3D object, manipulating textures, responding to user gestures, or tracking facial features. The interface is divided into several key areas:
It’s important to understand the concept of ‘patches’. Patches are visual connectors that allow you to link nodes together and define how they interact. For example, you can use a patch to trigger an animation when a user taps the screen, or to change the color of a 3D object based on their facial expression.
Let’s walk through the process of creating a simple AR effect – a floating 3D object. This will give you a foundational understanding of Spark AR Studio’s workflow.
This simple effect demonstrates the core principles of AR development in Spark AR Studio. You’ve tracked a user’s face, added a 3D object, and positioned it in the scene. Now, let’s explore more advanced techniques.
Once you’ve mastered the basics, you can unlock a wide range of advanced techniques to create truly captivating AR experiences.
Example: Creating a Dynamic Color Change Effect: Let’s say you want to create an effect where the color of a 3D object changes based on the user’s facial expression. You would use a ‘Face Tracking’ node to track the user’s facial muscles and then connect it to a ‘Color Picker’ node. The ‘Color Picker’ node would allow you to define the colors that change based on the user’s expression.
Creating a great AR effect isn’t just about visual appeal; it’s also about performance. Poorly optimized effects can lead to lag, crashes, and a frustrating user experience.
Once you’ve created your AR effect, you can share it with the world. Here’s how:
Creating AR effects with Spark AR Studio is a rewarding experience. With its intuitive interface and powerful features, you can bring your creative ideas to life and share them with the world. Keep experimenting, learning, and pushing the boundaries of what’s possible with augmented reality!
Resources:
This document provides a comprehensive introduction to creating AR effects with Spark AR Studio. Good luck, and have fun creating!
Tags: Snapchat, Spark AR Studio, Augmented Reality, AR, Snapchat AR, Spark AR, AR Studio, Filters, Effects, Augmented Reality Development, Creative Filters


[…] for brands to tap into the growing social commerce market. By strategically setting up your shop, creating engaging content, and running targeted advertising campaigns, you can drive sales, increase brand awareness, […]
[…] prioritized by the algorithm, offering brands a significant opportunity to reach a wider audience. Creating engaging Reels is no longer optional – it’s essential for maximizing your […]
[…] four options per question. They’re ideal for testing knowledge, gathering detailed feedback, or creating engaging […]